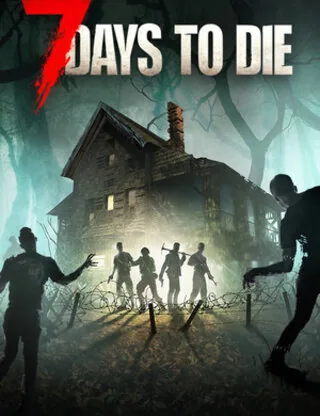
7 Days to Die reached version 1.0 after over a decade in early access, and the final release brought a wave of returning and new players. The full release reworked several server settings, removed some legacy options, and introduced new ones. This guide covers the most important serverconfig.xml values and how to tune them for your group.
Want your own 7 Days to Die server? At HostValues from €11.20 per month, online within minutes. View plans →
Accessing serverconfig.xml
Every 7 Days to Die dedicated server reads its configuration from serverconfig.xml in the server root directory. On a game panel, you can usually edit this file through the built-in file manager or a configuration editor. Changes require a server restart to take effect.
Performance settings
These settings directly affect server stability and tick rate:
- MaxSpawnedZombies: Controls the maximum number of zombies alive in the world at once. Default is 64. Lower this to 40 or 50 on servers with limited CPU. Higher values create a more intense experience but cost CPU cycles per tick.
- MaxSpawnedAnimals: Same concept for wildlife. Default 50. Lowering to 30 helps performance without noticeably affecting gameplay.
- ServerMaxPlayerCount: Set this to the actual number of players you expect, not a high aspirational number. Each player generates chunks and spawns zombies around them.
- ServerMaxWorldTransferSpeedKiBs: Controls how fast the server sends world data to new players. Set too high on a limited connection, it will lag everyone else during transfers. Start with 512 and adjust.
Difficulty and gameplay settings
These shape the survival experience:
- GameDifficulty: Ranges from 0 (Scavenger) to 5 (Insane). This scales zombie health and damage. For a balanced multiplayer experience, 2 (Adventurer) or 3 (Nomad) works well for most groups.
- BlockDamagePlayer: Multiplier for how much damage player attacks deal to blocks. Default 100 (percent). Raise it if you want faster base building and resource gathering.
- LootAbundance: Controls how much loot spawns. 100 is default. For a more scavenging-focused server, try 75. For a more relaxed experience, 150 fills containers without making the game trivial.
- LootRespawnDays: How many in-game days before looted containers refill. Default is 7. Shorter values keep players exploring; longer values force them to expand their territory.
- DropOnDeath: Options include Nothing, Everything, Toolbelt Only, Backpack Only, and Delete All. For PvP servers, Everything adds stakes. For cooperative groups, Backpack Only is a fair compromise.
Blood Moon configuration
The Blood Moon horde night is the signature feature of 7 Days to Die. These settings control it:
- BloodMoonFrequency: Number of in-game days between hordes. Default 7. Setting it to 3 or 4 keeps the pressure on and forces players to fortify early.
- BloodMoonEnemyCount: Zombies per player during the horde. Default is 8. Raise it for a harder challenge, but watch your CPU. A server with 8 players at a count of 12 means 96 concurrent zombies attacking bases.
- BloodMoonRange: Variance in days. A value of 2 with a frequency of 7 means the horde arrives somewhere between day 5 and day 9. Set to 0 for predictable schedules.
Land claim and PvP settings
- LandClaimSize: Radius of the protected area around a land claim block. Default 41 (blocks). Smaller values on PvP servers force tighter base designs.
- PlayerKillingMode: Options: No Killing, Kill Allies Only, Kill Strangers Only, Kill Everyone. Choose based on your server's purpose.
Recommended starter configuration
For a cooperative server with 4 to 8 players looking for a challenging but fair experience:
- GameDifficulty: 3
- BloodMoonFrequency: 7
- BloodMoonEnemyCount: 10
- LootAbundance: 100
- MaxSpawnedZombies: 50
- DropOnDeath: Backpack Only
- PlayerKillingMode: No Killing
Why HostValues?
HostValues 7 Days to Die hosting runs on AMD Ryzen 9 7950X or 9950X processors (Europe and US) with NVMe storage and DDoS protection included. Edit your serverconfig.xml through the control panel, scale resources as your player count grows, and choose from four regions: Europe (the Netherlands and France), the US west coast (San Jose), Canada (Montreal) and Singapore. New to the game? Read our 7 Days to Die server setup guide first. See all 7 Days to Die hosting plans.